← Choose language

CF80V coffee grinder – user manual

Print settings: A4, landscape, no margins, two-sided, flip on short edge. The manual is 3 pages long.

Warranty and service

Consumers have a 2-year legal guarantee of conformity from the day they receive the product; businesses get a 1-year warranty. During this period we provide:

  1. Free repair of a faulty grinder;
  2. Free replacement of defective parts. Normal wear of the burrs is not a defect;
  3. Any other rights that the law of your country gives you.

For warranty service, write to contact@coffeegeeks.eu. Please keep the receipt or invoice and the delivery note.

Exclusions

The warranty does not cover:

  1. 1. Damage caused by accessories not made or approved by us;
  2. 2. Damage caused by dismantling the grinder without authorisation;
  3. 3. Damage caused by use that does not follow this manual;
  4. 4. A product obtained by unlawful means;
  5. 5. Damage caused by force majeure;
  6. 6. A product repaired by unauthorised persons without contacting us or one of our authorised dealers.

Intended use

This appliance is not intended for use by persons (including children) with reduced physical, sensory or mental capabilities, or lack of experience and knowledge, unless they have been given supervision or instruction concerning use of the appliance by a person responsible for their safety.

Children should be supervised to ensure that they do not play with the appliance.

Instructions for operating the grinder and for cleaning the parts that come into contact with food are given under “Operating instructions” and “Cleaning”.

This appliance is intended to be used in household and similar applications such as:

  • staff kitchen areas in shops, offices and other working environments;
  • farm houses;
  • by clients in hotels, motels and other residential type environments;
  • bed and breakfast type environments.
Coffee grinder
CF80V
User
manual

Variable speed · single dose

CF80V coffee grinder

Please read this manual before using the grinder and keep it for future reference.
Safety precautions

Specifications

ProductCoffee grinder
ModelCF80V
Product sizeL270 × W120 × H297 mm
Carton sizeL360 × W185 × H470 mm
Net weight6.5 kg
Gross weight8.2 kg
Rated power500 W
Speed300–1200 rpm
Burrsflat, 80 mm
Bellows capacity50 g

Parts

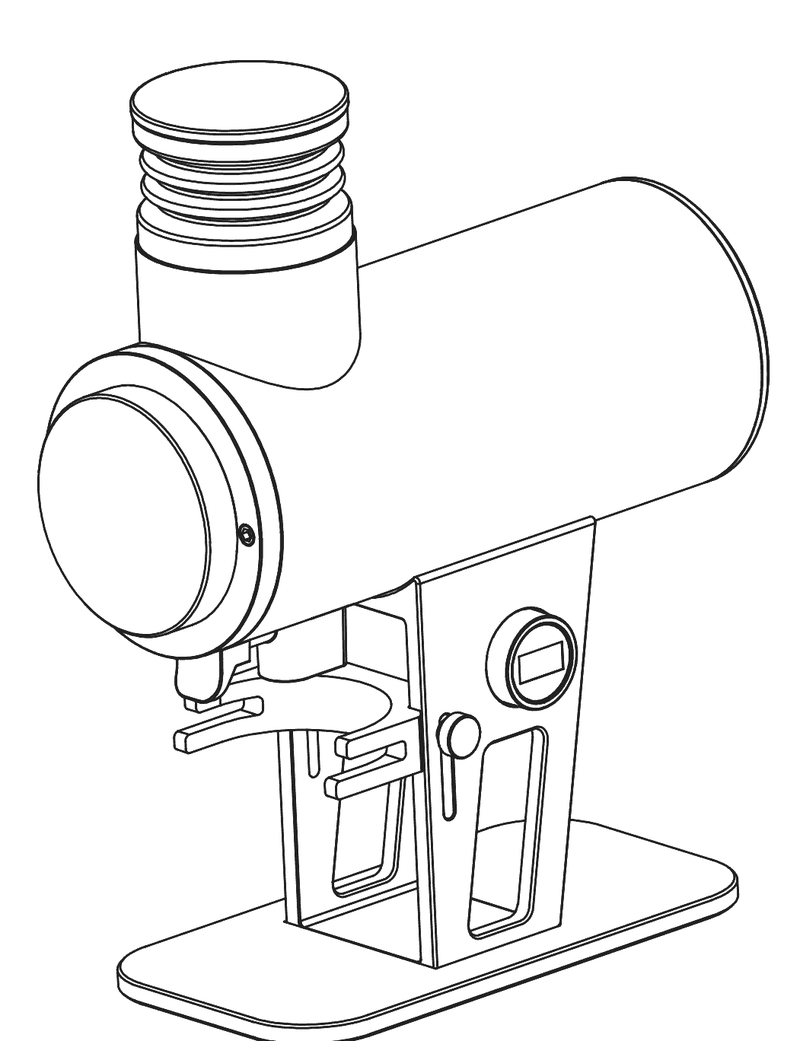
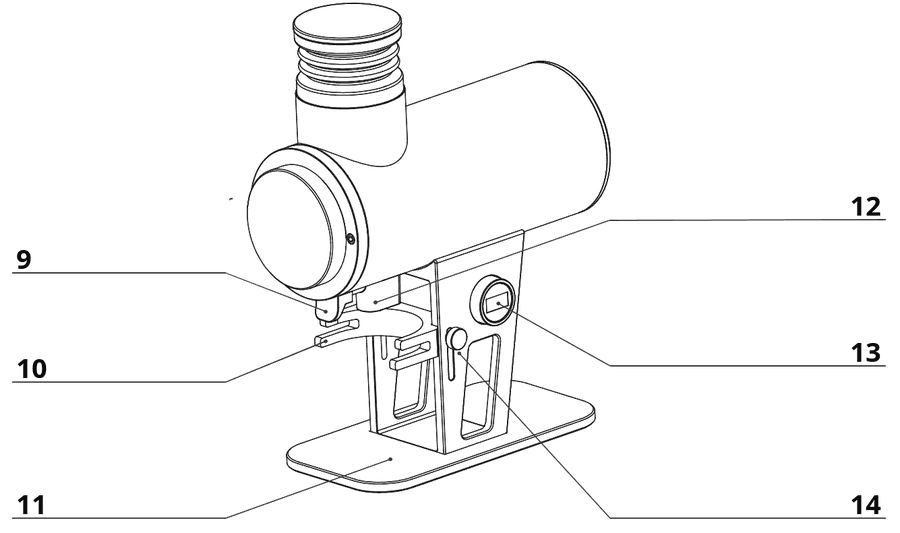
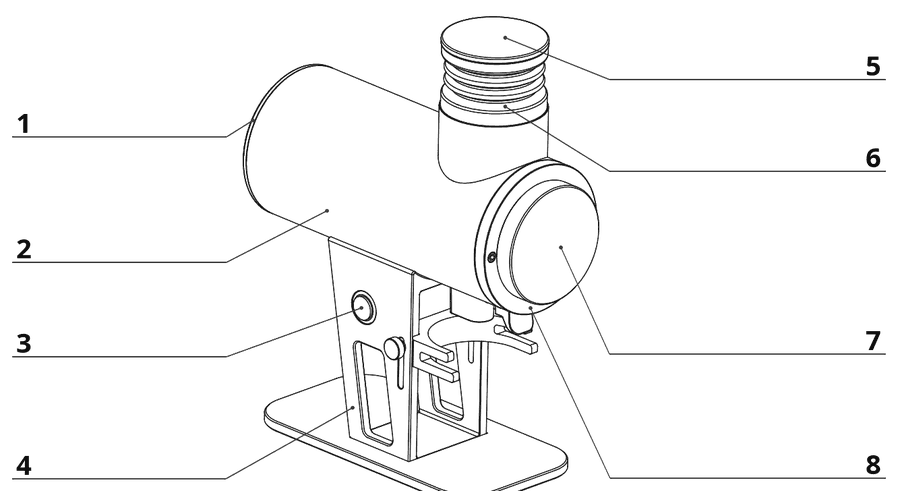
Grinder parts, numbered 1 to 14
  1. 1. Back coverABS plastic, black
  2. 2. BodyAnodised aluminium alloy
  3. 3. Power buttonStarts and stops the motor
  4. 4. PillarAnodised aluminium alloy
  5. 5. LidWood
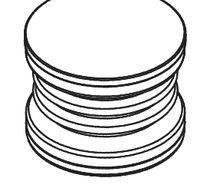
  6. 6. BellowsFood-grade silicone
  7. 7. Adjustment dial with scaleAnodised 6063 aluminium alloy; quick to reset to zero after a burr change
  8. 8. Indicator collarAnodised 6063 aluminium alloy; removable
  9. 9. KnockerClears leftover grounds from the plasma generator probe and the chute
  10. 10. ForkHolds the portafilter
  11. 11. BaseAnodised aluminium alloy
  12. 12. Outlet chuteFood-grade ABS plastic
  13. 13. DisplayShows the speed; turn it to change the speed
  14. 14. Set screwsLoosen and lock the fork

Accessories

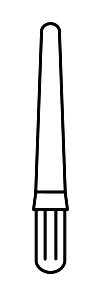
1
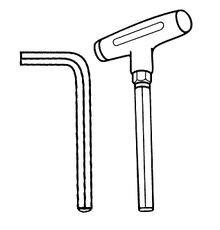
2
3
4

Grind adjustment

Adjustment dial scale from 0 to 90

Stepless adjustment to any grind size you need.

Important: only adjust when there are no beans in the grinder or while the motor is running.

Grind size by brew method

0–15Turkish coffee
15–30Espresso
30–60Moka pot

60–80Pour-over
80–90French press
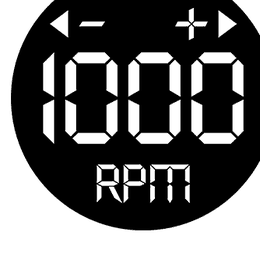
Motor speed

  1. The speed range is 300 to 1200 rpm;
  2. Each step you turn the display (13) clockwise adds 100 rpm; each step anticlockwise takes 100 rpm off;
  3. You can change the speed before or after starting the motor.

Recommended grind setting and speed:

  • espresso: setting 15–30, 700–1200 rpm;
  • moka pot: setting 30–60, 500–1200 rpm;
  • pour-over: setting 60–80, 300–1000 rpm.

Low speed (300–700 rpm)

Made for pour-over: grinding slowly produces fewer fines, for a cleaner, more balanced extraction and clearer flavour.

Warning: do not grind for espresso at 300–700 rpm! An espresso grind is very fine, and at low speed the grounds come out more slowly than the beans go in. Coffee builds up between the burrs and the motor stalls.

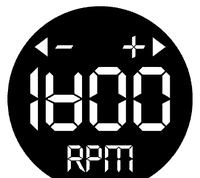
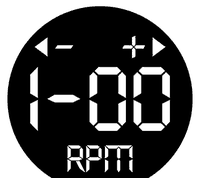
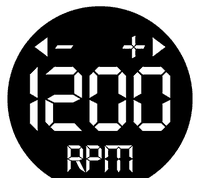
When you plug the grinder in, the display shows in turn:

1V00the software version
1-00connecting
1200the set speed

Operating instructions

  1. STEP1Plug the grinder in. The display (13) lights up and shows the current speed.
  2. STEP2Set the speed by turning the display (13), then press the button (3) to start the motor.
  3. STEP3Open the lid (5) and pour in the beans. Grinding starts straight away.
  4. STEP4Towards the end of grinding, turn the speed up to maximum so that less coffee stays behind in the chamber. The motor stops by itself after 1 minute; you can also stop it with the button (3).
  5. STEP5After grinding, pull the knocker (9) and press the bellows (5, 6) to clear leftover grounds. Clean the chute (12) with a brush.

Warning: do not put anything other than coffee beans in the grinder, and never put your hand inside it while it is plugged in or running. Doing so may cause serious injury.

If the motor stalls

  1. 1. Press the button (3) to stop the motor and unplug the grinder.
  2. 2. Remove the lid (5), pour out the beans and empty the burrs and the chamber.
  3. 3. Plug the grinder back in, set 1200 rpm, adjust to a coarser grind and press the button to restart the motor.
Warning: if you do grind for espresso at 300–700 rpm, start the motor with the button (3) first and feed the beans in very slowly so it doesn’t stall. The motor stops by itself after 1 minute, so keep an eye on the grinding time.

Cleaning

  1. STEP1Plug the grinder in and start the motor with the button (3). Pull the knocker (9) and press the bellows (5, 6) to clear leftover grounds. Then stop the motor and unplug the grinder.
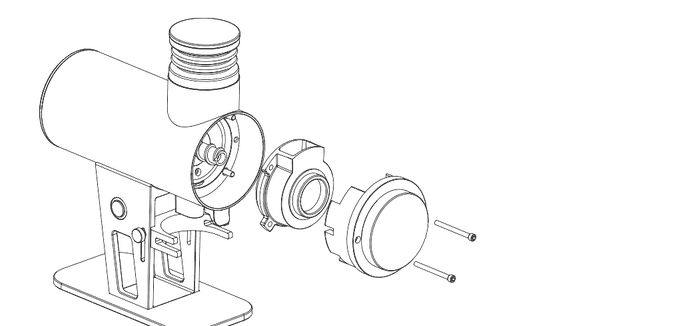
  2. STEP2With the 4.0 Allen key, undo the two screws on the indicator collar (8). Remove the adjustment dial and the indicator collar (7, 8) together, then take out the front burr with its carrier.
  3. STEP3Clean leftover grounds from the burr carrier and the chamber with a brush or a handheld vacuum cleaner.
  4. STEP4Clean the outlet chute (12) thoroughly with a brush. Do not touch it with your hand: the plasma generator probe is inside.
  5. STEP5Refit the front burr with its carrier, then the adjustment dial and the indicator collar (7, 8), and tighten the two screws on the collar (8) firmly with the 4.0 key.
The grinder with the adjustment dial, indicator collar and front burr taken off